
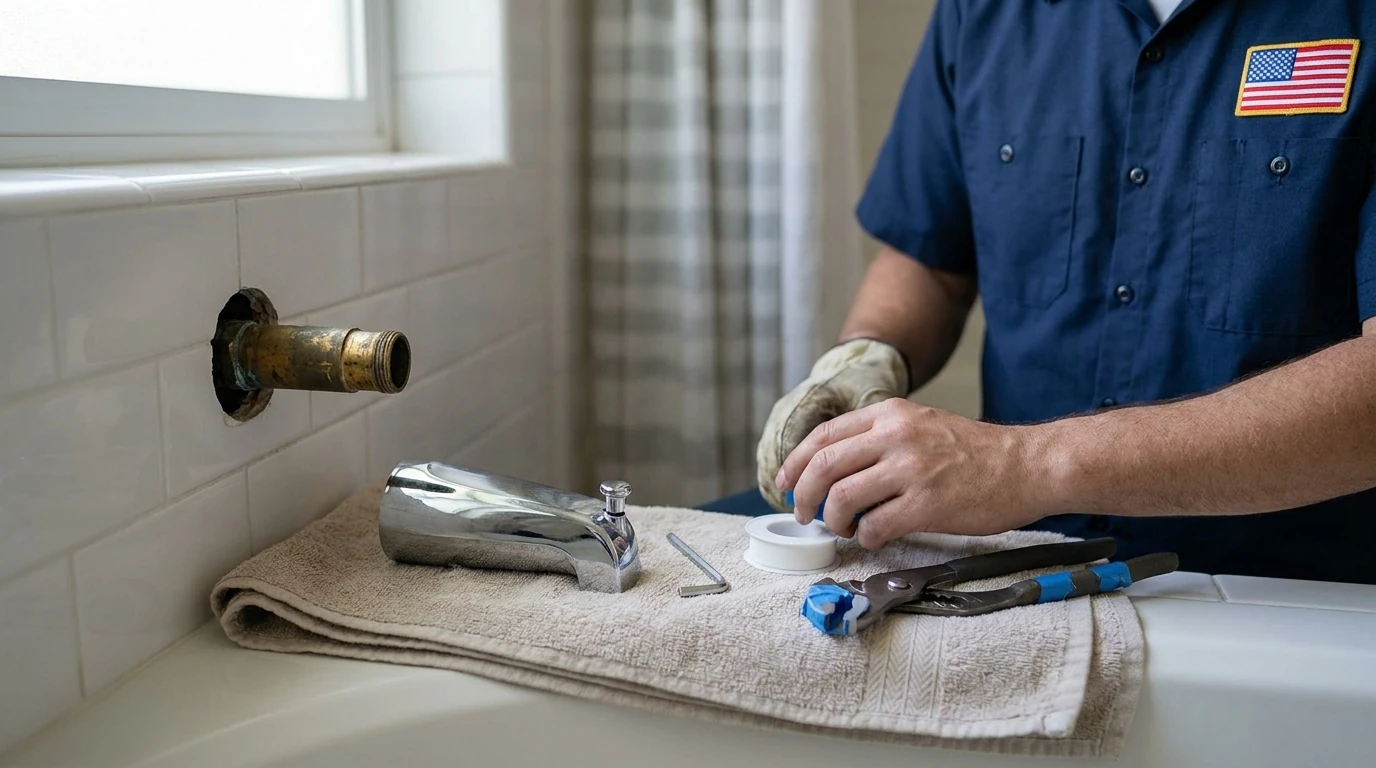
TL;DR: Replacing a bathtub faucet spout takes most homeowners less than 30 minutes with basic tools. Check the underside of the spout for a hex-head set screw. If you find one, loosen it with an Allen wrench and slide the old spout off. If there’s no set screw, it’s a screw-on type you can usually turn off by hand, or with a flathead screwdriver for leverage, then install the new spout using Teflon tape for a watertight seal.
If your tub spout is dribbling water out of the diverter opening while you’re trying to shower, or the finish has gone chalky with limescale, you don’t need to schedule a plumber just to swap the spout. Limescale from hard water is often exactly what keeps a diverter from sealing tight, splitting pressure between the tub spout and the showerhead instead of routing it fully overhead. Replacing the spout is one of the simplest fixture jobs in the house, and most homeowners can finish it in under half an hour with tools they already have in the garage.
What Do You Need to Replace a Bathtub Faucet?
You only need a handful of tools for this job: water pump pliers, a set of Allen wrenches, a large flathead screwdriver, Teflon tape, and some masking or electrical tape.
Before you buy a replacement, bring the old spout (or at least clear photos of it and the pipe stub) to the hardware store. Fittings vary enough between manufacturers that a wrong guess means a second trip. Measure from the end of the pipe stub, where the water exits, back to the wall, and bring that measurement with you so the associate can match you to the correct spout length.
Is Your Bathtub Faucet a Screw-On Type or a Set-Screw Type?
Look at the underside of the spout for a small hex-head set screw. That one detail tells you which removal method applies, and getting it wrong is the most common reason people stall out on this repair.
If you find a set screw, it threads into the spout and pins it to the pipe stub underneath, rather than relying on threads at the connection itself. Loosen it a few turns with an Allen wrench and the spout will slide straight off the stub.
If there’s no set screw, you have a screw-on spout, which threads directly onto the pipe like a cap. These usually unscrew by hand. If a previous installer snugged it down tight, you’ll need leverage to break it loose.
How Do You Remove an Old Bathtub Faucet Spout?
For a set-screw spout, loosen the screw fully and pull the spout straight off the wall. For a screw-on spout that won’t turn by hand, insert a flathead screwdriver into the opening where water flows out and use it like a lever against the inside wall of the spout, turning counterclockwise.
Once the spout breaks free, finish unscrewing it with your hands and set it aside. Take a moment to look at the exposed pipe stub. If it’s corroded, pitted, or wobbles when you touch it, stop here. That’s a plumbing problem, not a cosmetic one, and installing a new spout on a failing stub just hides the issue behind fresh chrome.
How Do You Install a New Bathtub Faucet Spout?
Clean the pipe stub and surrounding tile first, using a rag with a household cleanser or rubbing alcohol to clear away old caulk, limescale, and grime. A clean connection point matters more than most DIYers expect, since debris on the threads is a common cause of leaks after a reinstall.
If your new spout is the set-screw type, slide it into place over the stub and tighten the hex screw underneath with an Allen wrench until snug. Turn the water on and check for leaks, then test the diverter.
If it’s a screw-on type, clean the pipe threads, wrap Teflon tape clockwise around them, then thread the new spout on clockwise by hand until it stops turning easily. Finish tightening with water pump pliers, but wrap the plier jaws in masking or electrical tape first so the metal teeth don’t scratch the new finish. Snug is the goal, not forced. Over-tightening can crack the spout housing or strip the threads underneath.
Turn the cold water on and check the connection for drips, then pull the diverter and confirm water routes cleanly up to the showerhead with no splitting at the tub spout. If the shower still has weak pressure after the new spout is on, the cause may be separate, so it’s worth a look at common causes of low water pressure rather than the spout itself.
When Should You Call a Plumber Instead of Doing It Yourself?
Call a licensed plumber when the pipe stub itself is damaged, when the spout won’t budge without risking damage to tile or drywall, or when the diverter mechanism is built into the valve body behind the wall rather than the spout. Those jobs involve cutting into a finished wall, which is a different scope than a spout swap.
RT Olson Plumbing, Heating and Air Conditioning handles faucet, fixture, and valve repairs across Corona and the surrounding Inland Empire when a job goes past a straightforward spout replacement. Before hiring any plumber for work beyond a DIY fix, California homeowners can verify an active C-36 license in under a minute through the CSLB license lookup tool.
A spout swap is a fast, low-risk fix that solves most limescale and diverter complaints on its own. If the pipe behind it tells a different story once you pull the old spout off, that’s the moment to stop and get a professional opinion rather than caulking over a bigger problem.
About RT Olson Plumbing, Heating and Air Conditioning
RT Olson Plumbing, Heating and Air Conditioning has served Corona, CA and the surrounding Inland Empire since 2014, holding California contractor license #997337 (verify any contractor’s license at cslb.ca.gov). The company offers 24/7 service and holds a 4.9-star Google rating across more than 600 reviews. This guide first ran on RT Olson’s previous website and was updated for Corona homeowners in October 2026.
If a spout replacement turns up a bigger issue, request a faucet and fixture repair quote or call RT Olson Plumbing, Heating and Air Conditioning at (951) 344-5596.