
TL;DR: Draining a water heater means shutting off its power or gas, closing the cold water supply, attaching a garden hose to the drain valve, and letting the tank empty to flush out sediment. Once you let air into the system, most tanks empty in 5 to 10 minutes, though a sediment-clogged valve can stretch that to 20 or 30. Do this once or twice a year, more often with hard water, to protect the tank, keep recovery times fast, and catch leaks before they become a bigger repair.
If you’re standing in your garage right now with a hose in hand wondering whether you’re about to flood the floor, take a breath. Draining a water heater is one of the lowest-risk plumbing jobs a homeowner can do, as long as you follow the shutoff order below. It matters most where the water is hard, as it is across much of Southern California: calcium and magnesium settle to the bottom of the tank as sediment, and that sediment is what causes the popping noises, the slow recovery, and eventually early tank failure.
How do you drain a water heater tank?
You drain a water heater by cutting its power source, closing the cold water inlet, hooking a garden hose to the drain valve near the bottom of the tank, and opening the valve until the water runs clear.
Here is the order that keeps you safe and avoids a mess:
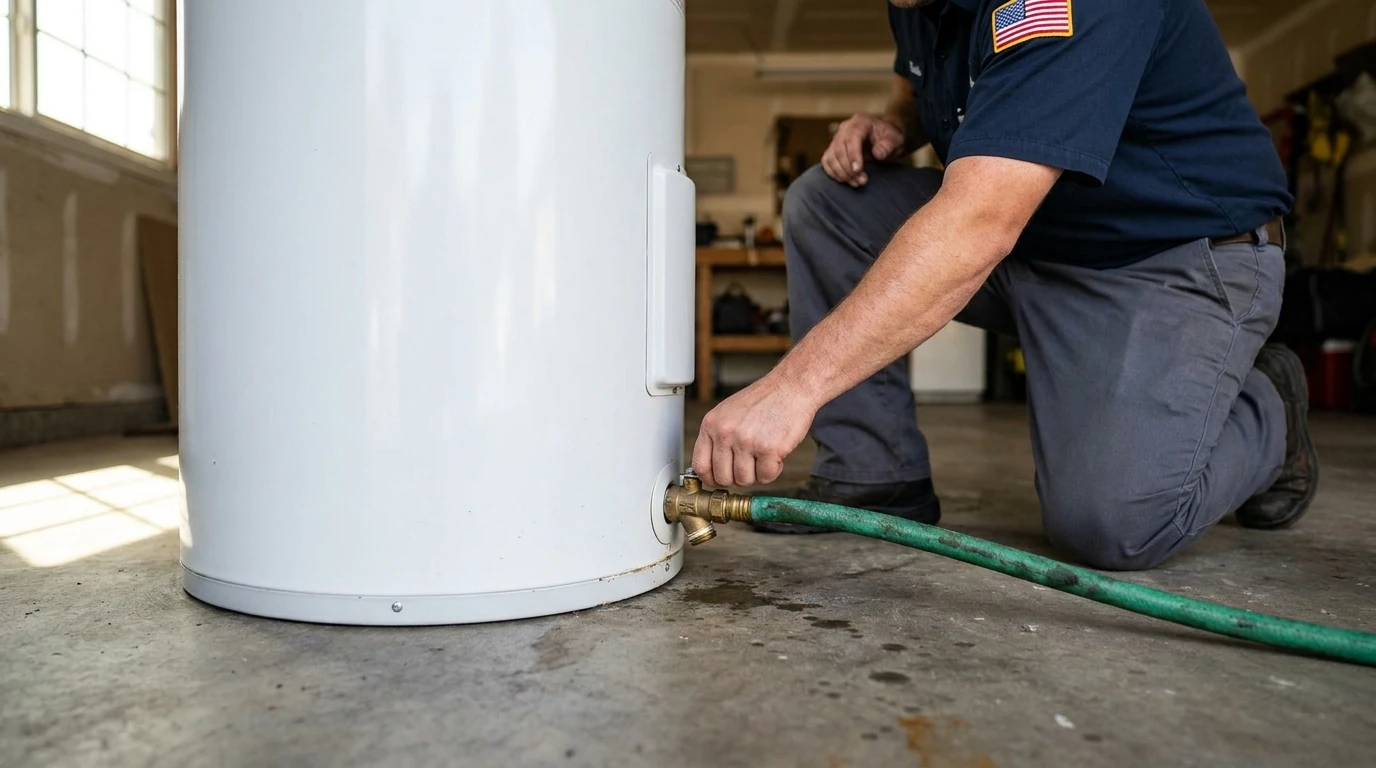
- Hook up a garden hose to the drain valve. The valve is near the floor on the side of the tank. Thread the hose on tight, hand-tighten plus a quarter turn, and route the other end outside or to a floor drain. The water coming out is very hot and can burn people and pets, so keep the open end pointed somewhere safe.
- Do a short test flush with the water still on. Open the valve for 10 to 15 seconds and close it again. This clears the valve opening itself and gives you a preview of how much sediment you’re dealing with. Repeat once or twice.
- Shut down the heater. For gas units, turn the gas control to pilot or off. For electric units, flip the breaker at your panel. Then close the cold water supply valve on top of the tank (or the main shutoff if your unit doesn’t have its own isolation valve).
- Open the drain valve fully. Let the tank empty through the hose. Keep going until only a slight trickle comes out. If drainage is slow, open a hot water faucet inside the house, or slightly loosen the hot water pipe connection at the top of the tank. Either one lets air in and breaks the vacuum that holds water back, and flow speeds up noticeably.
- Flush with fresh cold water. With the drain valve and hose still connected, briefly open the cold water supply again. This pushes fresh water through the tank and carries out the loosened sediment. Run it for a few minutes, then shut it off and drain again.
- Close up and refill. Close the drain valve, disconnect the hose, and open the cold supply fully. Open a hot water faucet in the house and let it run until the air sputtering out stops, which means the tank is full. Only then restore gas or power.
Expect 45 minutes to an hour after that for the tank to come back up to full temperature.
What does it mean to flush a water heater, and is that different from draining it?
Flushing goes a step further than draining: it means running fresh water through the tank specifically to break up and clear mineral sediment, not just emptying it once. A plumber recommending a “flush” usually means the drain-and-refill cycle above, repeated until the water runs clear instead of cloudy or gritty.
On older tanks, or tanks that haven’t been serviced in years, the stock drain valve is often partially clogged with the very sediment you’re trying to remove, and barely trickles. In that situation the valve sometimes has to be removed and replaced with a full-port ball valve to get the tank to drain properly, which is a job we’d point toward a licensed plumber rather than a weekend project, since removing a valve under pressure without the right prep can flood the area around the tank fast. If your drain valve won’t flow at all, that’s a sign to schedule a water heater inspection rather than force it.
What does a professional water heater flush include?
If you’d rather not do it yourself, a professional flush on a traditional tank water heater covers more than draining:
- Flushing the tank sediment out through the drain valve (the hose bib on the tank)
- Checking and adjusting the pilot operation
- Checking and adjusting the gas valve
- Checking and adjusting the thermostat
The payoff is the same as a DIY flush, done thoroughly: sediment comes out, the water heats faster and holds its temperature, the popping sounds stop, energy use drops, and the tank lasts longer. Sediment left in the tank blocks heat, makes the heater work harder, gives you inconsistent temperatures, and shortens its life, which is why a yearly flush is worth it.
Power flush. When a tank has so much mineral buildup from age and hard water that the standard drain valve is completely clogged, the plumber removes that valve and installs a full-port valve, then flushes the tank through it. That is the valve-swap job described above, and it’s the version to leave to a pro.
Tankless units don’t get a tank flush. They need a descaling service instead, which clears mineral scale from the heat exchanger.
RT Olson Plumbing, Heating and Air Conditioning offers water heater flushes for tank units and descaling for tankless units, along with water heater repair and installation for tank and tankless heaters running on gas, propane, or electric.
How long does it take to drain a 50-gallon water heater?
A 50-gallon tank typically drains in 5 to 10 minutes once you let air in to break the vacuum, assuming the drain valve isn’t clogged. With sediment in the valve or the vacuum still in place, it can take 20 to 30 minutes.
A tank that’s draining unusually slowly, down to a thin trickle after 10 minutes, almost always means sediment buildup is clogging the valve opening. That’s useful diagnostic information on its own: it tells you the tank has gone too long between flushes and probably needs more than one pass of fresh water to fully clear.
Do you need to drain your water heater every year?
Yes. Drain a tank water heater at least once a year, and preferably twice a year, especially if you have hard water. Skipping it lets sediment accumulate into a hard, insulating layer that reduces efficiency and shortens the tank’s life.
Sediment buildup does two things that cost homeowners money. First, it acts like a blanket between the burner or heating element and the water, forcing the unit to run longer to reach the same temperature, which shows up as a higher gas or electric bill. Second, it traps moisture against the steel tank floor and accelerates corrosion from the inside, which is how a tank starts leaking years before it should. A worn anode rod makes this worse, since that rod is what’s supposed to corrode instead of the tank itself. If your water heater is already getting older and showing rust at the base or around fittings, a drain and flush is worth doing, but it’s also worth having a technician check whether you’re closer to repair-or-replace territory.
A whole-home water softener or filtration system addresses the root cause rather than just managing the symptom, since it keeps hard minerals from ever reaching the tank in the first place.
Why is my water heater taking so long to drain?
A slow-draining water heater is almost always one of three things: sediment clogging the valve, a mechanical valve failure, or an un-broken vacuum seal inside the tank. Each has a different fix.
- Sediment clogging the valve. This is the most common cause, especially on a tank that’s never been flushed. Keep draining and refilling; it usually clears with persistence, though a badly clogged valve may need replacement.
- A broken or worn valve. Drain valves are mechanical and can fail just from age, especially if they’ve sat unused for years. If the valve won’t open, won’t seal, or is dripping after you close it, that’s a part worth replacing rather than fighting with.
- Forgetting to break the vacuum. Water heaters hold an interior vacuum once the cold supply is closed. Opening a hot water faucet in the house, or slightly loosening the hot water pipe at the top of the tank, lets air in and speeds drainage dramatically. Expect a stronger initial gush once you do this, so make sure your hose connection is snug first.
What else should you check while you’re at it?
Draining the tank is a good moment for a quick once-a-year inspection:
- Leaks. Look for puddles or moisture around the base of the tank and along every connection. Even a small leak can point to a bigger issue.
- Pressure relief valve. This is the tank’s safety valve: it releases excess pressure so the tank can’t build up too much. Lift its lever briefly and let some water discharge. If water flows freely, it works; if not, it may need replacing. The valve should be piped to a discharge line, and the water will be hot, so keep clear.
- Heating elements or burner. On electric units, look for corrosion or damage on the elements. On gas units, check the burner for debris or buildup.
- Anode rod. This sacrificial rod attracts corrosion so the tank doesn’t. Signs it is worn out include visible corrosion, a drop in hot water quality, or a metallic taste or odd smell in the hot water.
If you have hard water, there are three common ways to treat it: an ion exchange water softener (resin beads swap sodium for calcium and magnesium; it needs salt and routine upkeep), a salt-free conditioner (prevents scale from sticking to surfaces; low maintenance, but can be less effective with very hard water), and an electronic descaler (easy to install with minimal upkeep). The right choice depends on your budget, your water test results, and how much maintenance you want to do.
When is this a job to hand to a plumber instead of DIY?
Call a plumber when the drain valve won’t open or close reliably, when you see active leaking at the tank base or fittings, or when the unit is old enough that disturbing it risks triggering a bigger failure. A valve that needs to be cut out and replaced, or a tank old enough to be fragile, isn’t a good candidate for a first-time DIY flush.
If you drained the tank correctly and still have cloudy or discolored water, slow recovery, or a rotten-egg smell afterward, those signs point past routine maintenance toward a repair decision. If you smell gas at any point during this process, stop immediately, leave the area, and call your gas utility’s emergency line from outside before doing anything else; that’s not a DIY situation under any circumstances. For everything else, RT Olson Plumbing, Heating and Air Conditioning offers a professional water heater flush for tank units and descaling service for tankless systems, and can tell you on the spot whether your unit just needs a flush or whether the anode rod, valve, or tank itself needs attention.
Draining a water heater twice a year is a small habit that keeps a bigger bill off your plate later. If the process feels like more than you want to take on, or the valve won’t cooperate, request a water heater service appointment and let a technician handle the flush along with a quick check of the anode rod, pressure relief valve, and connections while they’re in there.
About RT Olson Plumbing, Heating and Air Conditioning
RT Olson Plumbing, Heating and Air Conditioning has served Corona, CA and the surrounding Inland Empire since 2014, holding California contractor license #997337 (verify any contractor’s license at cslb.ca.gov). The company offers 24/7 service and holds a 4.9-star Google rating across more than 600 reviews. This guide first ran on RT Olson’s previous website and was updated for Corona homeowners in October 2026.
Need help now? Call RT Olson Plumbing, Heating and Air Conditioning at (951) 344-5596.